Remodeling from another state – What you need to know
It’s no surprise that people are flocking to the Queen City. Abundant professional jobs, fabulous quality of life, warm (but not too hot) weather and much more combined to make Charlotte number 6 nationally on Penske Truck Rental’s 13th annual Top Moving Destinations List. The abundance of people moving into Charlotte from out of state combined with a tight housing market has also led to quite a few people who are buying homes and undertaking remodeling projects while still temporarily residing in another state. Because of the unique challenges such a situation presents, we thought it would be beneficial to address some of the things to consider when undertaking a Charlotte remodeling project from another state.
Hire a Professional You Trust
The first and most critical ingredient to a successful remodeling project is working with a qualified, professional remodeler you trust. That necessity is amplified when you are trusting them to manage and execute a project that you might only be seeing in person at certain key stages of completion.
Of course, it goes without saying that you should do your due diligence and check their professional background, licenses, insurance, and everything you would normally do before working with someone locally. You also should be certain that they have handled projects of similar scope and size, whether you are considering a kitchen remodel, bathroom remodel, or a whole house remodeling project. After they have satisfied these basic requirements, it’s time to ask if they have worked with remote clients in the past, and how they have handled those relationships. Some remodelers excel in that area, whereas others don’t have the processes and procedures in place to ensure that your project is running on track when you are not in town to answer questions as they arise.
A far more intangible but perhaps the most important consideration is simply: Do you trust them? While trust is essential in any professional relationship, it’s exponentially more critical when working remotely. You’ll have to trust your remodeler when they call to fill you in on everything from inspections and timelines to fit and finish. If you don’t feel as if the professional you are interviewing understands exactly what you are seeking, look elsewhere. Those differences will only be magnified by the challenges of distance.
Communication is Key
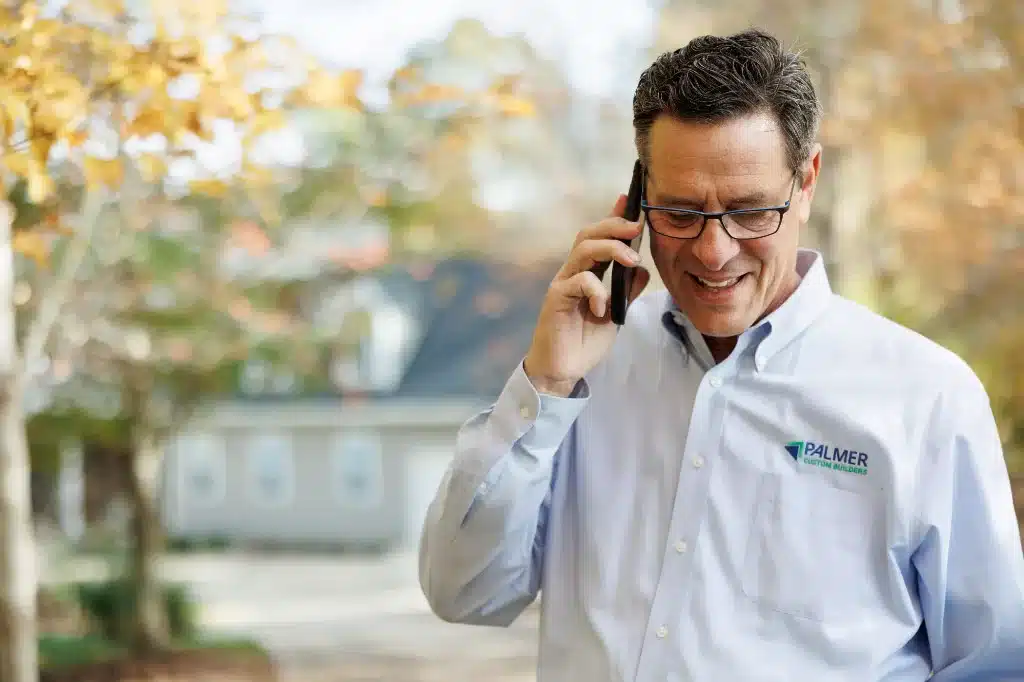
Determining by what means and how often your remodeler will communicate with you is essential to both a successful project and establishing your comfort level. Having clear discussion about this in the exploratory phase will allow you to determine if you want to work with this professional and if you are a good fit for a remote remodeling project. Not everyone is, and that’s okay. As we mention in our book: Remodeling and New Construction With No Regrets: How to Avoid the Most Common and Frustrating Mistakes Homeowners Make, your own comfort level and that of your family are essential to a successful project.
When we work with remote clients, we go above and beyond with communication, but we agree to frequency and means before we begin to make sure the level is just right. Some clients need daily updates to feel secure, while others are far more hands off. Weekly video updates, frequent texts, and in-progress photos in addition to formal updates are the key to keeping homeowners in the loop and comfortable with what is happening in their homes.

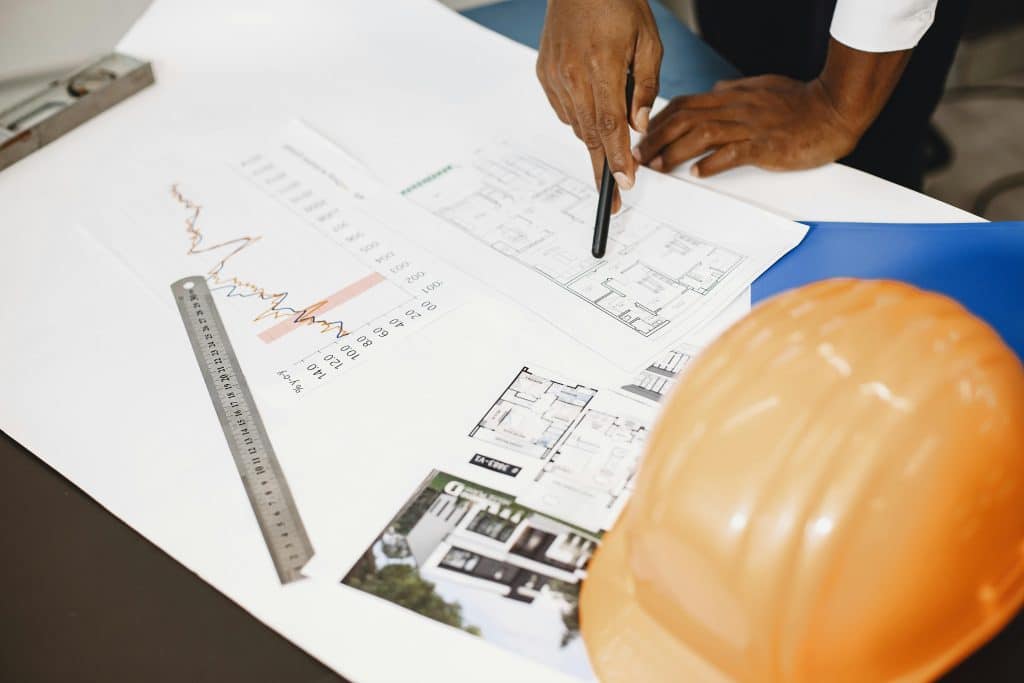
Understand the Process
Remodeling can be a complex process that sometimes includes an element of hurry up and wait. By that we mean that there may be strict timeframes during which homeowners will have to make decisions, followed by what can seem like a long time when nothing visible is happening before permits are secured, inspections are completed, and the finishing steps begin. To help our homeowners understand the process, we took the time to craft a handbook that explains not just the major steps of the remodeling process, but also how they will be feeling at each step. That knowledge can be particularly helpful for out-of-town homeowners who might be feeling an added level of stress.
This is also where working with a professional remodeler who is experienced in working with remote clients can prove invaluable. For example, we have procedures in place to make certain critical decisions are made on time, and we work with design professionals and trade partners who are comfortable dealing with out-of-town clients and walking them through the process. Since we are comfortable working with remote clients, we understand which decisions are essential and which can be delayed without impacting the process.
Taking Care of Your Home
Although this goes back to the trust we talked about earlier, it can’t be overstated that when remodeling from a distance, you must be certain that the remodeler you hire is one you trust with every aspect of your home. That trust must extend to every member of their team and the trades they work with.
We had one incident that demonstrated how critical that trust can be. While working on a master bathroom remodeling project with an out-of-town client, one of our tradespeople smelled gas in the early phases of demolition. We immediately shut down the project and had the gas company come out to assess the situation. They found not just one, but five natural gas leaks in the crawl space that had created a potentially dangerous pocket of gas. The leaks stemmed from previously completed fireplace gas log, HVAC and dryer installations. We were able to work with the gas company to repair the leaks and make the home safe to resume construction, all while the homeowners were out of town. The result was a beautiful primary bathroom and other repairs, as well as a residence that was safe for the homeowners to return to. While this may seem like an extreme example, undetected issues can always surface and especially so when homeowners are out of state for a period of time. Your remodeler should be checking on your home to ensure that there are no water leaks, storm damage, unauthorized access, etc.
It’s Worth it!
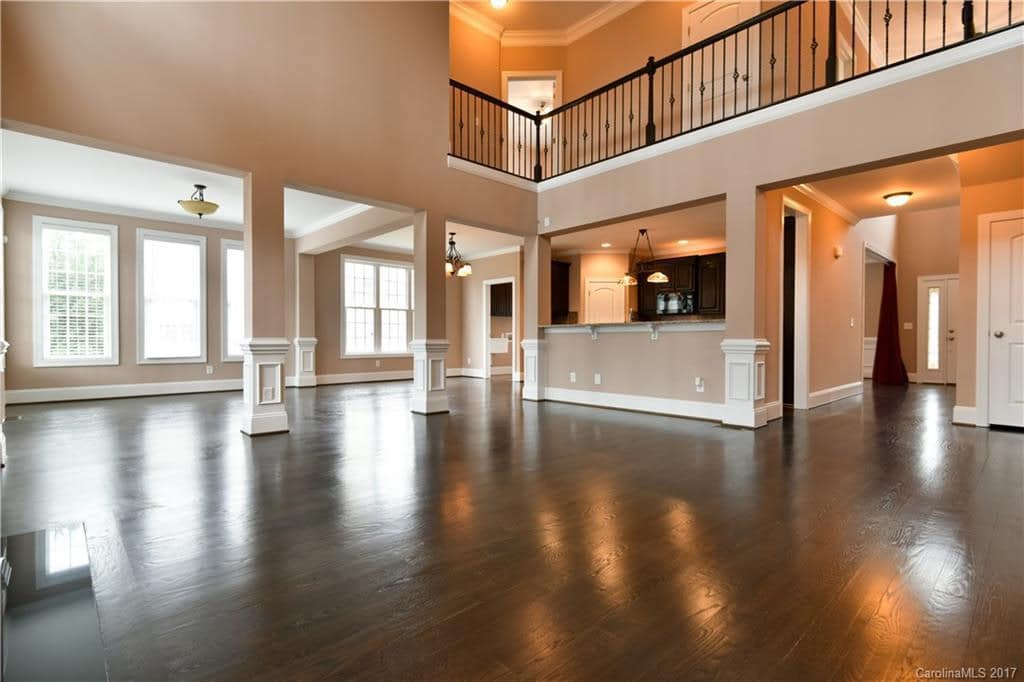
While remodeling from out of state may seem more complex than a local project, working with the right professional remodeler can ensure that you and your family have a beautiful and functional home in which to make memories for years to come.